zPacks Plexsolo Tent Unboxing

I finally received my new tent in the mail today.  It is the last piece of gear I am replacing.  So excited!  As I talked about in my last post, this tent was purchased from zPacks’ bargain shelf.  So, the $60 question was “Why was it there?”  Was it a return?  What there come cosmetic material defect?  Were there issues found during quality control?  Unfortunately, I do not know.  zPacks never told me.  I went over it with a fine tooth comb and I didn’t find any defects or repairs, so I am assuming it is a return.
It was the zipper slider that failed for me on the PCT.  That was not a problem exclusive to me.  My friends Nap and Bubbles also had a critical zipper failure from a different manufacturer.  The dust and grime does a number on zippers.  zPacks realized that and came up with a simple solution to the problem.  It was the reason I ultimately chose their tent.  Here is the end close up.
As you can see, the teeth go all the way down.  There is no bottom stop or a retainer box.  It ends in piece of tape.  If the slider fails, you remove the tape, replace the broken slider, and tape the end again.  The the materials are included with the tent.
The old way required the use of scissors and thread and a needle.  It was a one hour job, but it could be done in the field.  With this improvement, I can do the repair in less than five minutes.  That will be important on the AT because there will be bugs.  Stinging and biting bugs.
It there is a negative to this tent, it is the material.  It is pretty see through.  I’m going to turn 55 years-old on trail.  You want to watch?  More power to you.

Tent Purchased!

I went on the zPacks website and found a brand new Plex Solo in blue in the bargain bin for $60 off.  I bought it immediately.  There are a couple of reasons why the tent might be in the bargain bin.  The single biggest reason is that it is a return.  I know that many people new to backpacking purchase a specialty tent only to discover that they are completely different than the camping tent they have always used.  Backpacking tents are tiny!  zPacks tents are as minimal as they come, which makes them seem flimsy, but I can attest that they are very well made.  I could take my Hexamid.  Despite a PCT thru-hike, it is still waterproof.

Another possibility is that there is some minor material defect, such as blotchy color.  I do not care about how it looks.  It is going to get dirty very quickly.  There also might be some minor sewing defect that needed to be repaired.  It will be taped and it will have the same guarantee as an unblemished tent, so I’m good with that.

This tent is different than my Hexamid Solo Plus.  On the good side, the Plex Solo weighs 5.8 ounces less.  While I’ll miss the removable bathtub, the bathtub on the Solo Plus will do a much better job of protecting me from splatter when it rains.  Finally, zPacks makes the zipper very easy to repair in the field.  For an additional $0.50, I also purchased an extra #3 Pull Zipper slider which I will add to the repair kit.  Set up is pretty much exactly the same.  I was able to pitch my tent in less than two minutes in the dark by the time I made the Canadian border.

The one big negative is that this tent will be smaller than the Hexamid Solo Plus.  Although I’m 5’9″, I bought the tent for someone 6’5″.  That left plenty of room for gear.  I’ll have to get used to that. 

One other change I’ve made is that I will go with a zPacks Food Bag instead of my Bear Vault BV500.  I received plenty of helpful advice after I blogged what I was going to do.  There is a short three mile stretch were the bear vault is necessary over the entire hike and most shelters have places to hang or a bear box.  A zPacks food bag weighs 1.5 ounces while the BV500 weighs 43 ounces, so that is some significant weight savings.

With that, my kit is complete.  Now back to training!

Bear Canister and the AT


I love the thru-hiking community.  It is a diverse community with a wide range of backgrounds.  Each and every person has their reasons why they pack a small number of necessities into a backpack and go spend four-to-five months out in nature.  Living out in nature is a very unorthodox life.
That being said, it is also a community that has its own orthodoxy.  For example, there is a belief that you cannot say that you have thru-hiked a trail unless you walk every single mile.  I always found this one rather silly.  If that is the case, then no one has thru-hiked the PCT legally since 2013.  A portion of the trail was closed to preserve a nearly extinct toad and no one is allowed to hike that portion.  Some do illegally, but walking on preserved land is also strictly against the Leave No Trace code.  I have always taken the stance that one hikes the trail that is in front of you.  If what is in front of you is dangerous, then you must reroute — and that is okay.
The walk every step orthodoxy is very much alive on the AT.  Fortunately, as the senior trail, she is well established and one can actually do it.  That is for another discussion.  What I want to talk about is whether one should carry a bear canister the entire hike.
When I thru-hiked the PCT, there were two areas where one had to carry a bear canister.  The longest part of the trail was the Sierra Mountains.  Normally that means shipping your bear canister to Kennedy Meadows South (mile 703.4) and sending it home at Kennedy Meadows North (mile 1018.1).  Yes, there are two Kennedy Meadows in California.  It was very annoying to see ultralight backpackers with their tiny packs zooming without a bear canister.
One of the core principles of Leave No Trace (LNT) is to Respect Wildlife.  If you are hiking through an area where an animal lives, you should nature alone.  Nature provides balance.  There is just enough food for the creatures that live there.  Don’t tamper with it.  Eating the berries that are meant for the local prey animals can put nature out of balance.  We carry our own food and are not in a survival situation.
The black bears spend the summer and fall foraging for calories so that they have enough fat reserves for the winter.  Because of that, nature has tuned their tastes towards desiring calorie dense foods  Who has an ample supply of calorie dense foods?  Why, humans do!  So, it is critical that bears do not taste human food lest they associate humans with calorie dense food.  Once that happens, it means that park rangers will have no other choice than to kill the bear.
In my opinion, killing a perfectly healthy bear because they discovered that they like Cheez-Its is morally wrong.  I don’t judge the park ranger.  I blame the visitor walking through carelessly and not properly storing their food so the bears can’t reach it.
On my PCT hike, I discovered what it is like when a creature learns that human food is delicious.  Fortunately, it was not a bear.  It was a chipmunk that got into the bear box at Warner Valley Camp (mile 1351.4).  The bear box was left open and it chewed into my food bag.  It also damaged my friend Nap’s as well.  Fortunately, Tenacious Tape is ideal for a repair like this.
The Appalachian Trail Conservancy has made it clear that everyone should carry a bear canister.  On their thru-hiker Frequently Asked Questions page they say the following about carrying one:

Yes – bear canisters provide the most surety
and flexibility to ensure bears on the A.T. do not access human food,
therefore providing the best protection for bears against becoming
habituated to humans and human food. A fed bear is a dead bear.

There is more detailed information on the ATC’s webpage on Bears.

For most of my PCT hike, I carried a zPacks food bag.

This is the ultra-light solution.  Weighing only 3.4 ounces, it handled the entire PCT, SHT, IAT, and multiple camping trips.  The bag was awesome, but I will not use it on the AT.  I’ll carry my bear canister instead.
Here is the problem with bear hanging.  When you are tired — really tired — the last thing you want to do after you are done eating is hang your food.  So what do you do?  You use your food bag as a pillow.  In the case of this light weight solution, the cordage is also very light and is constantly tangled.  It also becomes quite unmanageable once it is sticky with pine sap.

The proper thing to do is to suck it up and carry the canister.  It weighs 2 lbs. 11 oz.  However, a full one-liter Smart Water bottle filled weighs 2 lbs. 5 oz.  On the PCT, I often had to carry three filled Smart Water bottles and I’ll never have to do that on the AT, so it is a wash.  The canister also makes a fine camp chair, so it serves a dual purpose.

I’ll probably be one of the few who properly follows the rules.  I’ll try not to judge the action of others.

Tent Rundown


I hiked the PCT in 2018 with a zPacks Hexamid Solo Plus.  It was an outstanding tent.  Its light weight allowed me to carry a more robust sleeping solution because I’m a side sleeper.  That means I need more cushioning for my hips, so I carry two sleeping pads.  A good night sleep is critical for a successful hike.

What I really liked about the Hexamid, was the removable bathtub.  I could use the bathtub as a floor if I cowboy camped separate from the rest of the tent.  I also took it out when it rained and kept it in the dry portion of my pack.  When I made camp, I would put up my tent, and away from the rain I would install the bathtub.  I could then strip out of my wet clothes and my tent was completely dry.

That doesn’t mean that it was perfect.  It suffered from a critical zipper failure at Crater Lake.  The zipper no longer properly zipped.  I used some safety pins to pin up the insect netting.  It wasn’t a big deal as the mosquitos were not bad in Oregon and Washington in 2018.  I had on night when I set up camp at a stealth site where ants got in.  Nothing wakes you up like an ant crawling on your stomach in the middle of the night!

Despite my best efforts, dirt entered into the throat of the slider so the slider was no longer able to lock the elements.  Yes, backpacking teaches all the proper named of the different parts of a zipper.  The top and bottom stops; the elements on the tape; and the slider.  The slider has a pull tab connected to a crown with a body and the throats.

Once I was home, there were instructions on zPack’s website on how to repair the zipper and had I been in a better communication situation, I could have fixed it in the field rather easily.  All I needed was a new slider and to clean the elements.  I had a scissors, Tenacious Tape, and a needle and heavy duty nylon thread.  I fixed it and it works fine.  I also needed to fix a couple of holes in the bathtub and the fly.  There are many many pokey things looking to make pin holes in your gear on the PCT.  Tenacious Tape is your friend.

Regardless, a tent made with Dyneema Composite Fabric is designed for one thru-hike.  All that packing and unpacking is not good for it.  I still use this tent for backpacking and camping, but it is not going to last another 150 day hike.

So, as I wrote, I am deciding on a new tent.  zPack’s doesn’t make the Hexamid Solo Plus anymore.  It has been replaced with the Plex Solo.  The Plex Solo is lighter, but has a dedicated bathtub instead of a removable one.  Because of that, I started looking around at different models.  The Durston Gear X-Mid Pro 1 was very intriguing to me.

The Durston Gear has a unique layout, using two hiking poles to set up, but only requires four tent stakes.  My Hexamid required 10 stakes.  Although neither tent has a removable bathtub, the amount of cowboy camping I’m doing on the AT is rather limited.  Between the rain, condensation, and bugs, I’ll be in my tent pretty much every night.

So, that means it all comes down to the zipper.  It is what failed before.

There was no documentation on the Durston Gear site about zipper repair.  I asked on Reddit and received very limited feedback.  Basically, I need to take better care of my gear.  Well, I did take good care of my gear, but sleeping on dirt means your zipper sits in the dirt.

zPacks, on the other hand, has you covered.  To fix the zipper on the Hexamid required some cutting and sewing.  On the Plex Solo, the zipper slider is designed to be quickly replaced in the field.  They even have a video on YouTube on how to do it.

So, when I purchase the tent, I’ll purchase an extra slider for .50-cents and I’ll be good to go.
As the two tents weight and cost the same, it comes down to which tent I can fix easily in the field.  That means that the zPacks Plex Solo will be my final choice.  I’ll purchase it next month or so.
 

New Quilt and Backpack Pocket Received

I received the pieces of gear I ordered, my new Enlightened Equipment Revelation 20-degree quilt size regular wide and my new ULA backpack pocket.

The quilt feels the same as my old one from 2016, but is much fluffier.  As I wrote before, I purchased the lower quality down this time with the hope that with more fill it will not move around as much.  I took a nap in it and I started to sweat.  With that, I put it back in its long-term storage bag for now.
It was an opportunity to test my Thermarest Pro-Light Regular inflatable sleeping pad.  It held air just fine, so it is good to go.
I also received my new shoulder pocket for my backpack.  It is much bigger than the old version and easily holds my Pixel 7 with a case protector.  I now have a little mesh pocket to put something in.  What that will be I do not know.
Now to figure out the tent.

Vision and Pack Modifications

As I prepared for my PCT attempt in 2018 as a middle aged hiker, I knew that the odds were against me.  With a near 90% failure rate, I would have to figure out ways to improve my odds.  I studied the trail.  I tested out different brands of shoes.  I read books on the proper care of my feet.  As astronaut Mark Watnay in the book The Martian by Andy Weir said,

In the face of overwhelming odds, I’m left with only one option. I’m gonna have to science the shit out of this.

I spent much time planning out how I was going to see on trail.  For the PCT, I wore thirty-day continuous wear contacts.  They were great.  While on trail, I would go to sleep with them still on.  When I woke up, I could see.  I carried a spare pair on contacts and a very small bottle of solution and my daughter would sent a new pair with my shoes.  I also carried a pair of glasses as a backup until I reached Big Bear when I realized that my glasses were no longer a need, but a fear.  If I lost a contact, I had a spare with me.  If I managed to loose the spare, honestly, my vision is good enough that I could follow the clearly marked trail.

When my wife and I walked the Camino in July, I wore my last pair of bifocal contacts.  In real life, I wear glasses pretty much exclusively now.  This past trip taught me that I cannot read while wearing contacts unless I have reading glasses.  So, continuous wear contacts are not an option anymore.  I’ll be depending upon the FarOut app to keep me on trail.  I need to be able to read my phone.

It wasn’t as big of a deal on the Camino.  We slept in a bed every night.  I would take out my contacts and read just fine.  On the AT, while on trail, the last thing I want to do is put my dirty fingers in my eyes at night.  I also know that there will be moments when I want the safety of contacts over glasses.  There will be climbing up mountains on my hands and knees.  I might want to go rafting on a side trip.  I need to figure out a compromise.

What I’ve decided to do is carry a couple cheap pairs of daily wear contacts for the rough and tumble hiking and wear my glasses most of the time.  I’ll need to carry two pairs of glasses, regular and sunglasses.  To keep them on if I take a tumble, I bought some cheap sport straps and I’ll carry a tiny repair kit.  

Simple enough, but there is a cascade effect to this decision.  Like I said, I feel I was successful on the PCT, because I spent time thinking about the details.  Not only do I spend time thinking about what I’m going to carry, but also where I’m going to carry it.  I’ll need two pairs of glasses if they are prescription glasses, I want easy access to them.

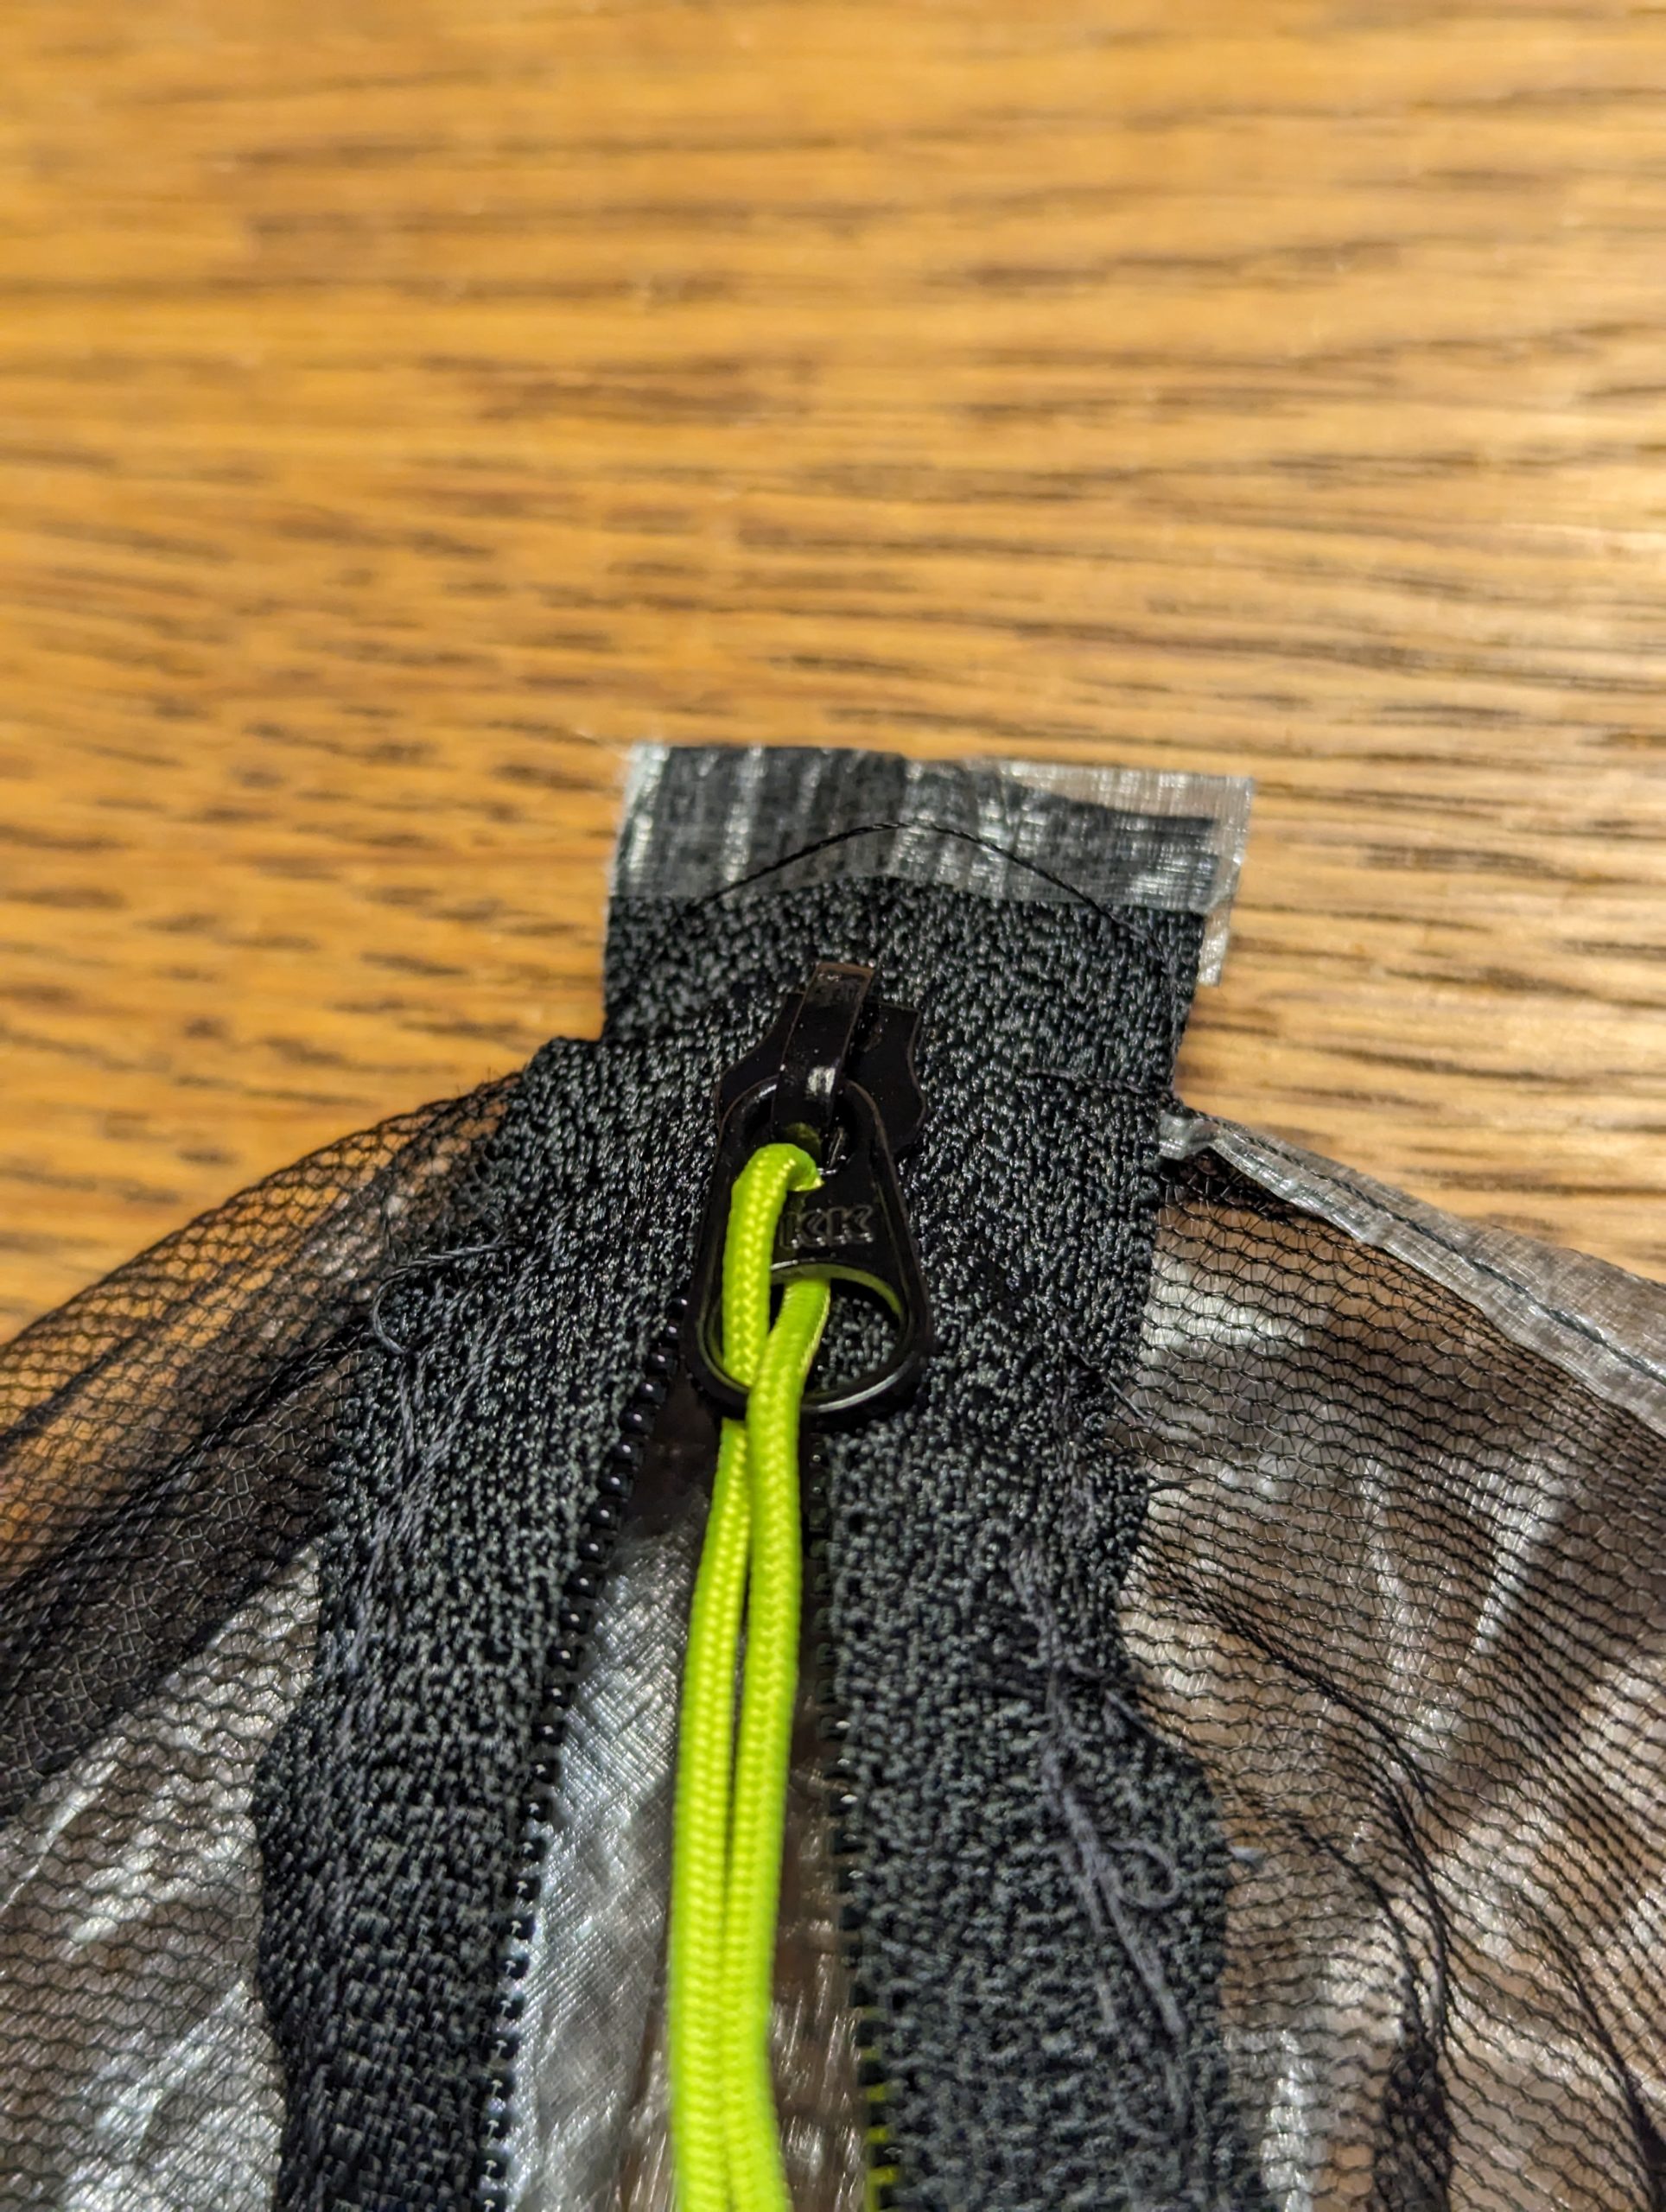
When you carry only the things you need, you cannot afford to loose anything.  I cringe when I see thru-hikers carrying their Sawyer Squeeze screwed on a one-liter bottle.  I want everything tucked away.  I also want to make sure that when I pack up for the day, everything has its place, and if that place has a zipper, the zipper is closed.  On the PCT, I lost just two pieces of equipment.  I lost my emergency whistle early on.  I lost my buff walking home from the laundry in Cascade Locks.  That was it.

The ULA Catalyst has two large hip belt pockets.  I bought an extra shoulder pocket when I bought the pack.  Those three locations carried anything I wanted access to without stopping.

The shoulder pocket is where I kept my phone. In the left hip belt I kept my snacks for the day.  In the right hip belt I kept those other things I wanted quick access to.  I kept my lip balm, hand sanitizer, DEET, headlamp, mosquito netting and my Rock of Faith.

On the Camino, I didn’t need to carry snacks.  We also started hiking at the break of dawn.  Also, my phone has become larger over time and doesn’t fit well in the shoulder pocket.  So, the left hip belt became my phone pocket and I kept my sunglasses in the shoulder pocket.  On the AT, I’ll want my snack pocket back, so I need more storage, so I bought a new ULA shoulder pocket.  It is much improved from the one I bought with the pack.

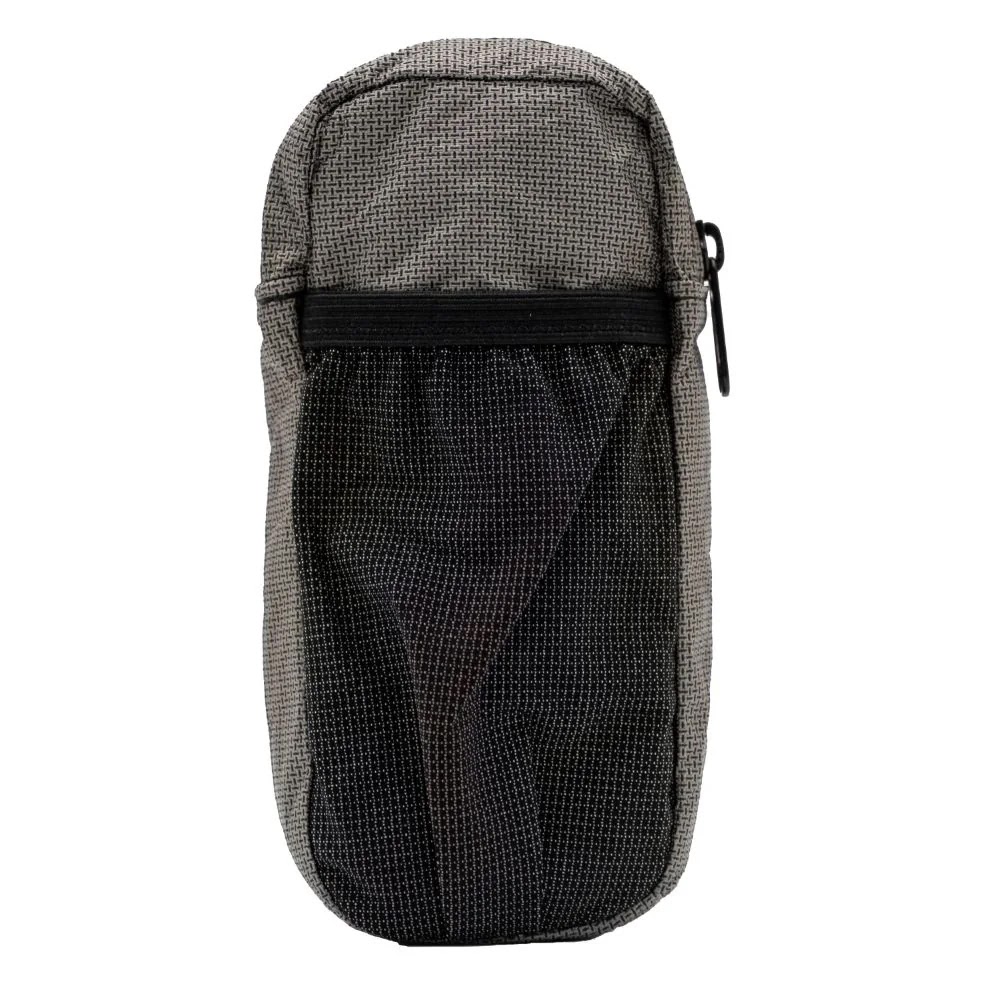
The new version is bigger and has a mesh compartment.  It will become the new home for my phone and the old shoulder pocket will hold whatever glasses I’m not wearing.  Problem solved.

I know what you are thinking.  A whole article on pockets?  Absolutely!

You would think that this is no big deal, but that isn’t true.  I learned that I could cut the amount of time it took to pack up camp by nearly fifteen minutes with the simple act of carrying my toothbrush and toothpaste in a baggy in the mesh portion of my pack instead of with my food bag.  Toothpaste needs to be hung from bears, so the best place to keep it is your food bag. You store you food bag in the pack.  You cannot close your pack until everything is packed.  Brushing your teeth is usually the last thing you do before start walking.

I remember the eureka moment when I realized that if I kept my toothbrush and toothpaste outside my pack, I could be completely ready with my pack almost completely packed.  That made a huge difference when it is cold and rainy!

Sometimes it is the little things, and when you’re out in the middle of nowhere, days from civilization, it is better to think this all through before you get there.  Now I have a new mesh pocket?  What am I going to keep there?

Developing a Resupply Strategy

I could easily teach a college course on thru-hiking resupply strategies.  You can only hike as far as the calories you carry.  Getting it right is critical.  Carry too much, and you are dragging through the day.  Carry too little and you are begging other thru-hikers for food.  I fretted about resupply before I left, not knowing that I would have all day to fret about it some more once I was hiking.
On the PCT, I really only screwed up twice.  Fortunately, nether mistake turned into something critical.  
I screwed up leaving Idylwild, California.  I assumed I would be able to hike about sixteen-to-twenty miles a day.  It turns out that the combination of altitude changes, long water carries, and the intense heat meant that I struggled to hike ten-to-twelve.  I wasn’t the only one.  My two hiking partners were also out of food, so we ended up bailing early into Big Bear Lake.  It took us hours to hitch a ride into town off this seldom used road.
I also messed up at the end.  I misunderstood what a trail closure meant coming into Stehekin, Washington.  A simple sixteen mile hike into town turned into a 28+ mile day trudging through the rain and snow in the mountains.  By then, I was in excellent shape and simply pounded out the miles into Holden Village.
On the PCT, there were three types of towns.  Towns I resupplied in.  Towns I forwarded a box to prior to reaching there.  And, towns I shipped a box from home.  My daughter was my quartermaster for that hike, a role I hope she will fill for this hike.  On the PCT, I shipped one box to Warner Springs, California before I left.  My daughter resupplied me by shipping boxes all through Washington.
There is one caveat to my resupply strategy.  That was my shoes and contacts.  My shoes and contacts were shipped from home, even to towns with excellent resupply options and an outfitter.  My daughter shipped new shoes to me roughly every 500 miles and I would order a new set to home until I needed them.  For the AT, I will be wearing glasses, but I’ll still have shoes shipped as necessary.
The nice thing about the AT is that as it is the senior national trail and much more popular, resupply is much simpler.  There seem to be a ton of resupply options right on trail!  Still, I’m going to follow the same strategy for the AT as I did for the PCT.  I will resupply as I go and forward boxes as necessary, with a couple of exceptions. This should help me avoid food boredom.  There are seven places where local resupply is not really an option, based upon my initial analysis.  They are:
  1. Fontana, NC.
  2. Mountain Harbor Hostel, TN
  3. Troutdale, VA
  4. Atkins, VA
  5. Harpers Ferry, WV
  6. Duncannon, PA
  7. Monson, ME
Fontana is at mile #167, so I will ship a box there prior to me leaving.  I will have a box shipped from home for Monson.  Monson is at mile #2074, so I’ll be in tip-top shape.  They do recommend ten days of food for the One Hundred Mile Wilderness!  We will see how things go.  One thing I know is that if you did 20 miles a day on the PCT, you’ll do about 15 miles on the AT.  Looking at other peoples’ hikes, I’m going to be doing roughly 10 miles a day until Tennessee.  We’ll see how it goes.
To help me sort all of this out, I’m using two sources.  I have purchased the entire AT for Far Out.  That will be the tool I use on a day-to-day basis.  I also purchased the AT Guide.  I found a couple of peoples itineraries to help guide me as well.
Much work to do! 

Replacement Quilt Ordered


I ordered my new Enlightened Equipment Revelation quilt this morning.  It is a regular / wide 20-degree with 850P down.  My current quilt is also a regular / wide 20-degree, but it has the 950P down.  Going with 850P down increases the weight by 1.6 ounces, but cuts the cost by $90.  The total weight will be around 23.61 ounces.

Fabric wise, both quilts used 10D denier fabric which is the compromise between weight and strength.  The higher the denier, the stronger the fabric but the higher weight.  Overall, I will not be able to tell the difference between the two if it wasn’t for the different colors.

That leaves just a replacement shelter to select.

Preliminary Gear Status Part I

I certainly learned much on the trail back in 2018.  Despite nearly five-years of preparing, there is no better teacher than the trail itself.  By the time I was finished, my kit was perfect.  For the most part, my kit for the AT will be the same.  Because I bought high quality gear, they handled the hike quite well.  Still, some pieces will need to be replaced.

Without further ado, here is the preliminary gear list for my 2024 attempt of the AT.

Preliminary Gear List

Big Three

My ULA Catalyst withstood the PCT, and countless backpacking trips on the IAT (Ice Age Trail), the Superior Hiking Trail in 2021, and the Portuguese Camino this year.  There are some tears in the exterior webbing and some wear and tear where the struts meet the bottom, but other than that, it is in excellent condition.  I’ll use a trash compactor bag to create a waterproof section in the pack.

My 20-degree Enlightened Equipment Revelation is a bit lumpy now and has been relegated to a quilt to watch TV on a cold winter day.  It is still very comfortable.  Enlightened changed the sewing pattern in 2019 to prevent the down from travelling.  Unfortunately, I have the 2016 model and much of the down has travelled to the footbox.  I’ve tried fixing it according to their video instructions to no avail.  As this quilt is my last line of defense against hypothermia, I’ll replace it.

One critical piece of advice I heard before I hike the PCT was Invest in Sleep.  A good night of comfortable sleep is critical to success.  I am a middle-aged side sleeper.  I need extra padding at the hips, so a regular sleeping pad is not going to cut it.  I’ll carry my Thermarest Pro-Light Regular I used on the PCT with the addition of a Thermarest Z-Light Sol that I will fold up to give me that extra padding for my hips.  This is the same combo I carried for the PCT.  Yes, it is 33.3 ounces, but it increases my likelihood of success.

I loved my zPack Hexamid Solo-Plus on the PCT.  I loved the removable bathtub.  When it rained in Washington, I would detach the dry bathtub and carry it in the waterproof part of my backpack.  When I would set up my tent at the end of the day, I would strip out of my wet clothes and into my warm quilt with a dry floor.  Overall, the shelter handled the whole hike.  The only issue was the zippers.  They failed at Crater Lake.  Fortunately, mosquitoes were not an issue in Oregon or Washington.

When I returned home, I replaced the zippers according to zPack’s instructions.  It also has a couple of pin holes that I have patched.  It is good for a weekend trip, but not for a thru-hike of the AT.

Unfortunately, zPacks no longer makes a Hexamid with the mosquito netting.  Its replacement is the Plex Solo Tent.  The big difference is that the bathtub is not removable.  The weight of this new shelter is just 13.9 ounces.  The Hexamid Solo Plus weighed in at 19.7 ounces with the bathtub.  The other issue is the cost.  The Plex Solo is a cool $600, which is quite a bit.  There are a number of cheaper options and I have to consider that there are shelters on the AT.  I may consider a cheaper option.

Replacing the sleeping quilt with the same model is a no-brainer.  I’m still deciding on the shelter.  I know that zPacks makes excellent gear.  I just have to decide if I want to drop $600 for something I may not use if a shelter is available.  I will ponder that some more.

Appalachian Trail 2024!

I have been given the green light to attempt the Appalachian Trail starting in March of 2024!  As a middle aged hiker, my ability to crush 2,000+ miles in a single season is waning.  Still, if I hiked the PCT five years ago, there is no reason why I cannot finish the AT.

The big difference between hiking the PCT and the AT is that I know that I can do it.  When I was preparing for the PCT, I wasn’t sure I could do it.  I knew I wanted to do it, but that doesn’t mean I was physically able to do it.  Now, I know I can finish the AT in one season, assuming I don’t hurt myself or something more important doesn’t take me off trail.
I have some work to do, but not as much as I did for the PCT in 2018.  I have most of my kit already, although some of the pieces do need to be replaced.  Physically, I’m stronger than I was back in ’18, as I weightlift three times a week and do a long hike once a week.  The AT is much less stressful.  There is no wondering if I was going to get a permit, for example.
So, follow along as I prepare for this amazing adventure!