Ready!!!

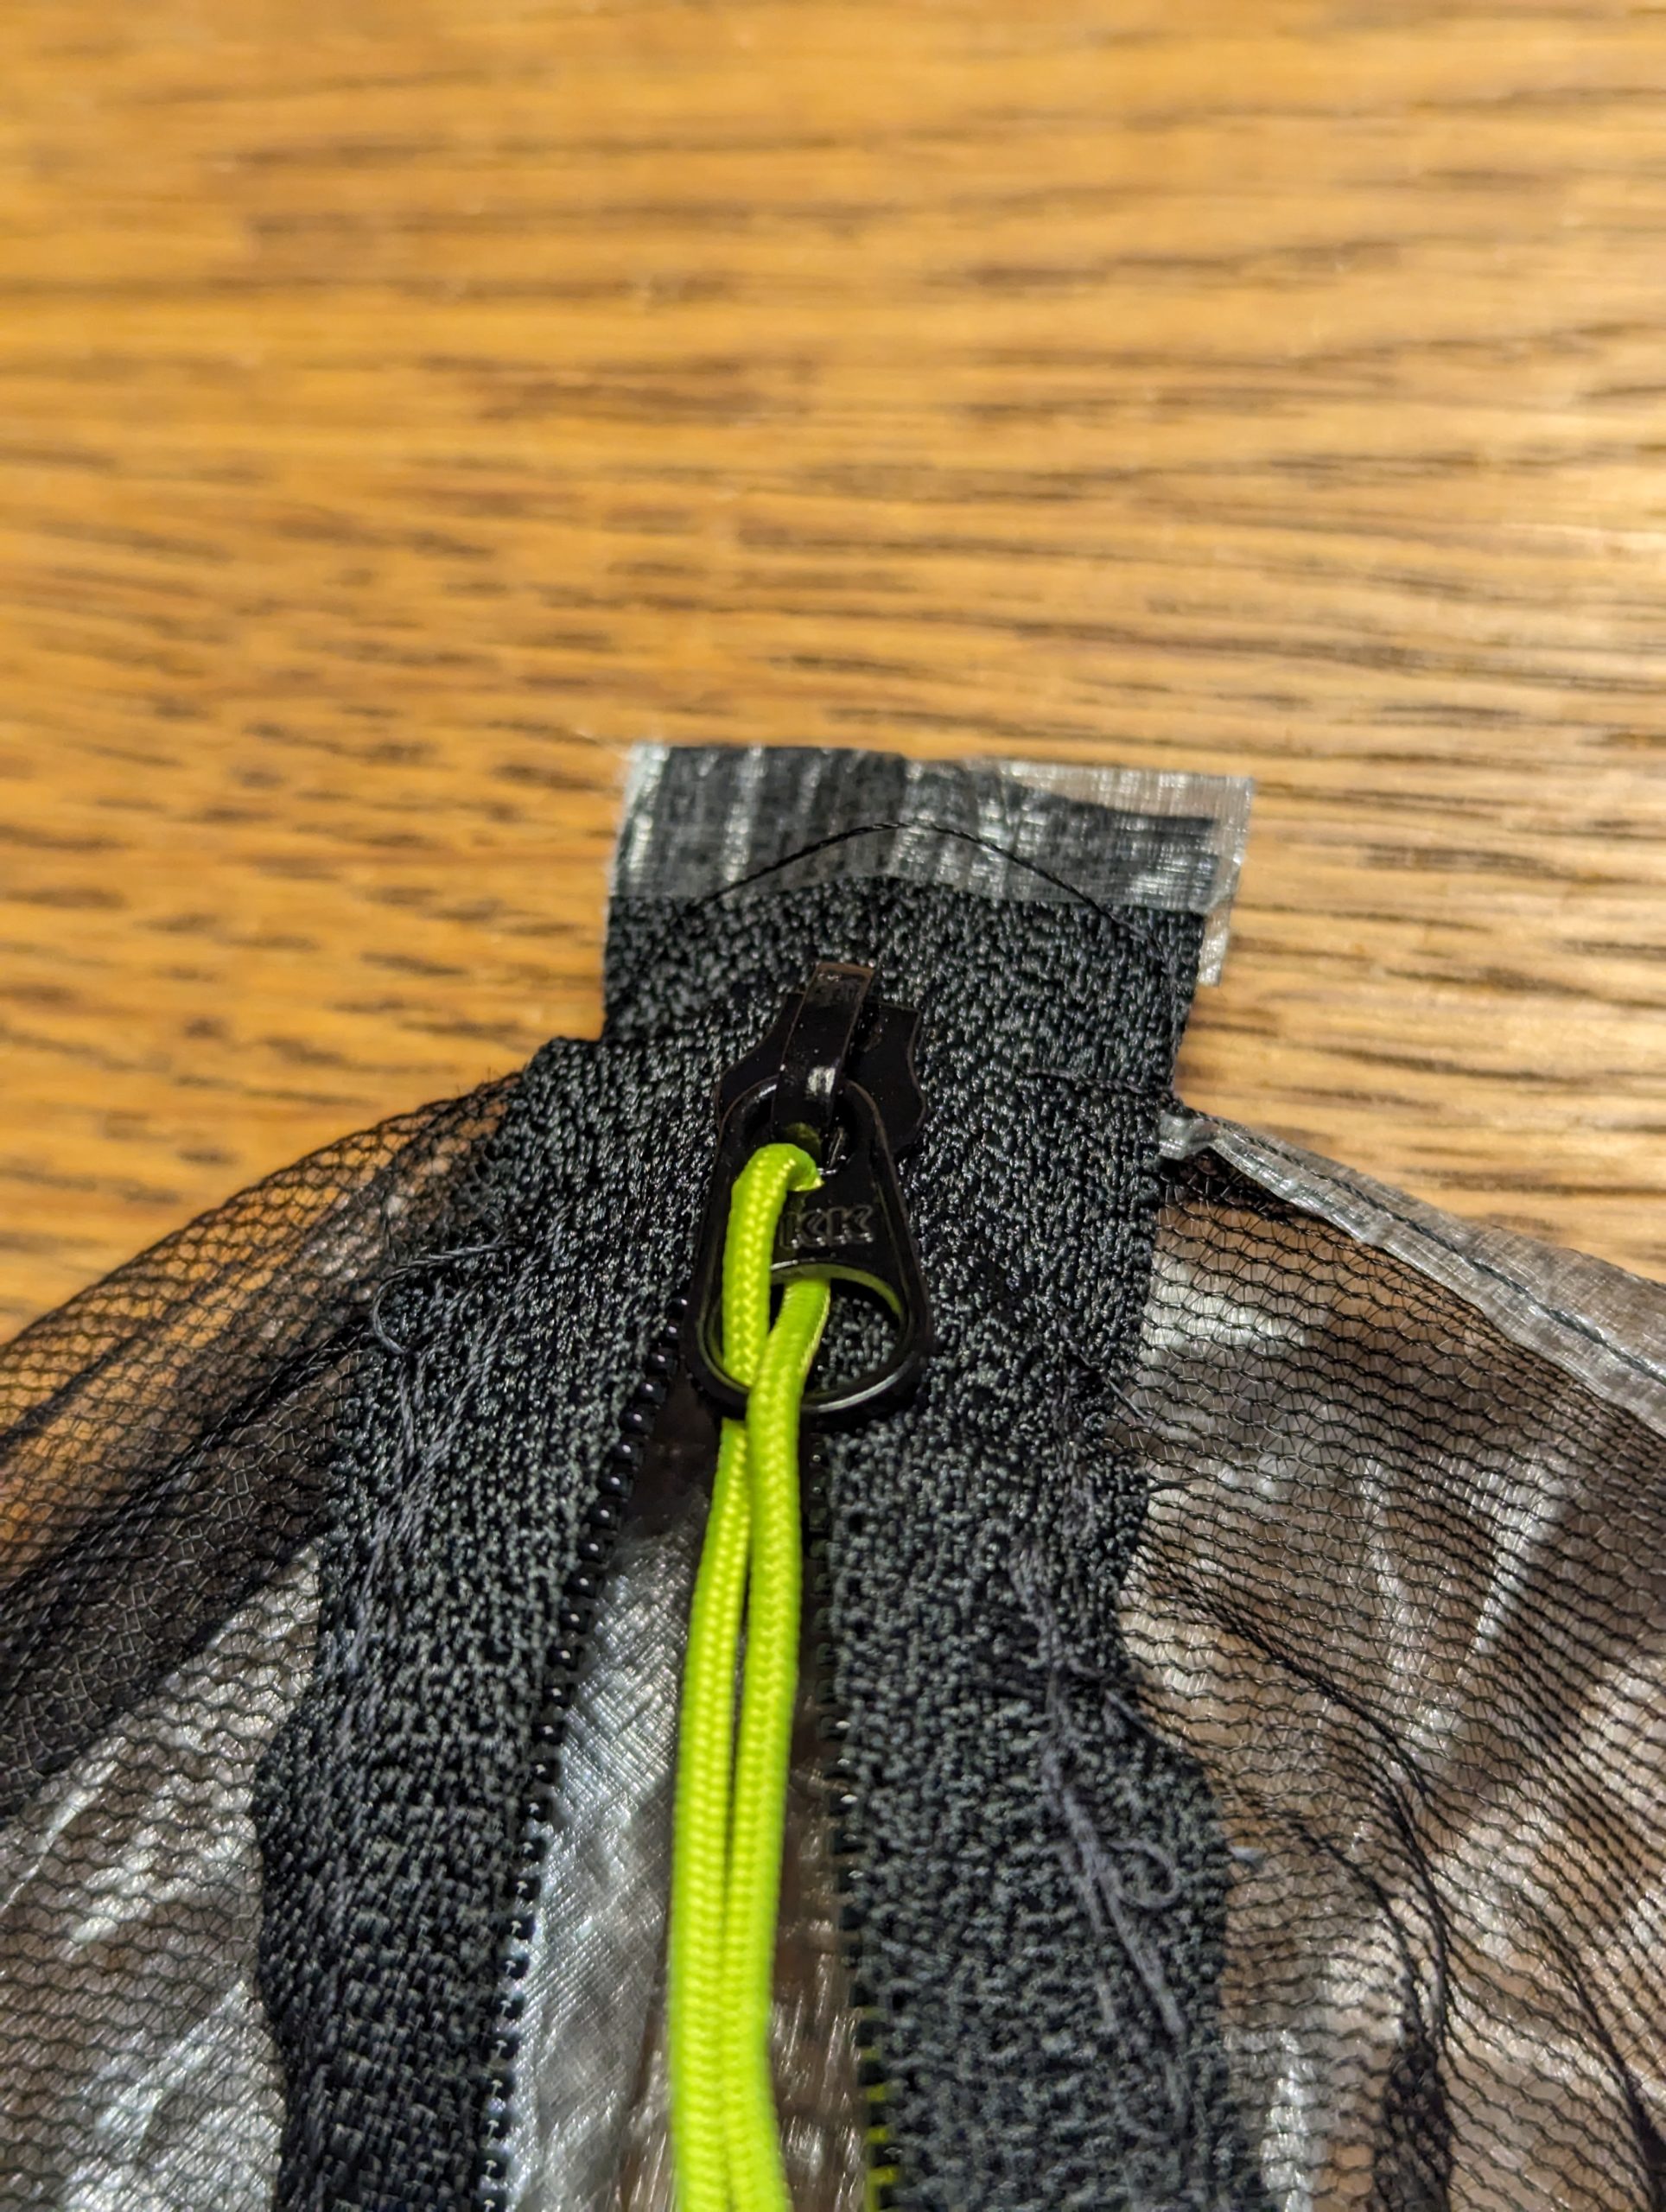
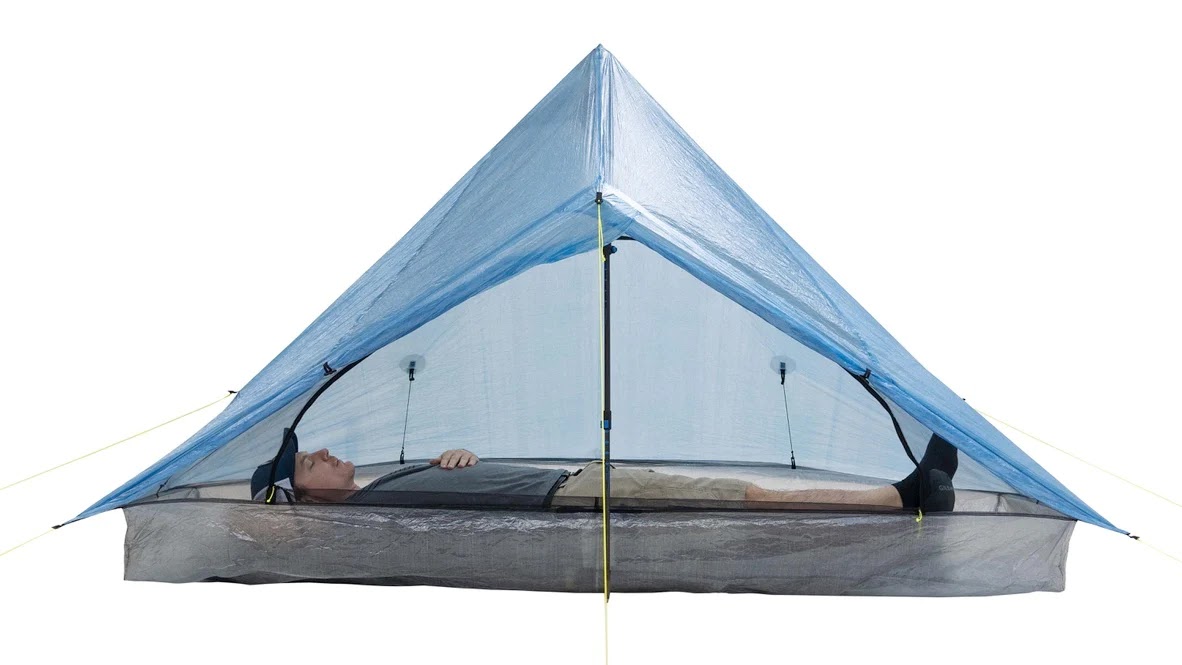
With the kit locked down, now it is time to lock down a starting date and transportation.  For the Pacific Crest Trail I used Guthooks and Yogi’s PCT Handbook.  For the Appalachian Trail, I’ll use Guthooks (now renamed FarOut) and AWOL’s AT Guide.
I cannot start until sometime after March 4th.  The earlier the better, however.  Tickets to Atlanta airport are quite reasonable.  I found flights for less than $200.  I will need to check in my backpack, however.  (Remember when that was free?)  My pocket knife that is smaller than my pinky and my trekking poles cannot be in a carry-on bag.
I’m also using Reddit this time.  The reviews for Ron’s Appalachian Trail Shuttle were excellent.  I texted him.  $140 from the airport, plus he’ll sell me iso-butane fuel as I cannot take that on the plane.  He is very knowledgeable, which is always helpful. While this isn’t my first rodeo, I really know nothing about the AT.
So, I’m going to finish up looking at flights and get that locked down.  Then I’ll Venmo Ron for the transportation and I’ll be good to go.
Update 1

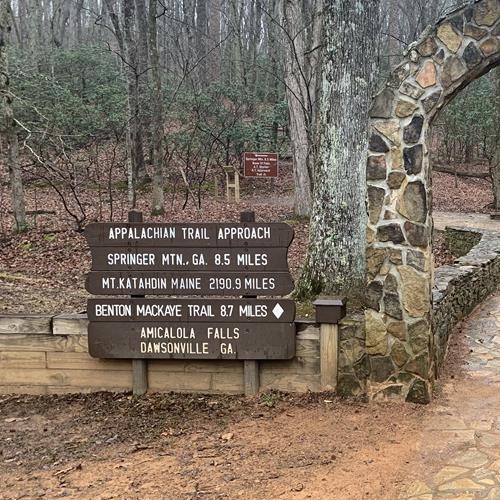
I was able to snag a flight to Atlanta for just $98!  My start date is March 6th.  It is a very early flight, but I will be in Atlanta before 9:00 a.m.  I also figured out that I’d rather start at Amicalola Falls instead of the Southern Terminus.  That will give me the full AT experience and cuts down my shuttle cost to $120.  He’ll have a medium iso-butane canister for me, so I’ll be ready to go.  I’ll check in at the visitor’s center and get my tag.  Then I’ll start making my way.
Ron asked me if I had a trail name.  I said that I was given the name Fine Young Buck, but chose to only use Young Buck unless I reached the finish.  Standing before the Northern Terminus between the United States and Canada, I accepted my full trail name.  I also said the name was a fitting joke as I was in my 50’s.  He asked if I would keep it.  I said that I would let the trail decide that.  I sent him my picture at the end of the PCT and he felt I should keep it.
I might.  However, when I take those first steps, I’ll just be JP.

zPacks Plexsolo Tent Unboxing

I finally received my new tent in the mail today.  It is the last piece of gear I am replacing.  So excited!  As I talked about in my last post, this tent was purchased from zPacks’ bargain shelf.  So, the $60 question was “Why was it there?”  Was it a return?  What there come cosmetic material defect?  Were there issues found during quality control?  Unfortunately, I do not know.  zPacks never told me.  I went over it with a fine tooth comb and I didn’t find any defects or repairs, so I am assuming it is a return.
It was the zipper slider that failed for me on the PCT.  That was not a problem exclusive to me.  My friends Nap and Bubbles also had a critical zipper failure from a different manufacturer.  The dust and grime does a number on zippers.  zPacks realized that and came up with a simple solution to the problem.  It was the reason I ultimately chose their tent.  Here is the end close up.
As you can see, the teeth go all the way down.  There is no bottom stop or a retainer box.  It ends in piece of tape.  If the slider fails, you remove the tape, replace the broken slider, and tape the end again.  The the materials are included with the tent.
The old way required the use of scissors and thread and a needle.  It was a one hour job, but it could be done in the field.  With this improvement, I can do the repair in less than five minutes.  That will be important on the AT because there will be bugs.  Stinging and biting bugs.
It there is a negative to this tent, it is the material.  It is pretty see through.  I’m going to turn 55 years-old on trail.  You want to watch?  More power to you.

Tent Purchased!

I went on the zPacks website and found a brand new Plex Solo in blue in the bargain bin for $60 off.  I bought it immediately.  There are a couple of reasons why the tent might be in the bargain bin.  The single biggest reason is that it is a return.  I know that many people new to backpacking purchase a specialty tent only to discover that they are completely different than the camping tent they have always used.  Backpacking tents are tiny!  zPacks tents are as minimal as they come, which makes them seem flimsy, but I can attest that they are very well made.  I could take my Hexamid.  Despite a PCT thru-hike, it is still waterproof.

Another possibility is that there is some minor material defect, such as blotchy color.  I do not care about how it looks.  It is going to get dirty very quickly.  There also might be some minor sewing defect that needed to be repaired.  It will be taped and it will have the same guarantee as an unblemished tent, so I’m good with that.

This tent is different than my Hexamid Solo Plus.  On the good side, the Plex Solo weighs 5.8 ounces less.  While I’ll miss the removable bathtub, the bathtub on the Solo Plus will do a much better job of protecting me from splatter when it rains.  Finally, zPacks makes the zipper very easy to repair in the field.  For an additional $0.50, I also purchased an extra #3 Pull Zipper slider which I will add to the repair kit.  Set up is pretty much exactly the same.  I was able to pitch my tent in less than two minutes in the dark by the time I made the Canadian border.

The one big negative is that this tent will be smaller than the Hexamid Solo Plus.  Although I’m 5’9″, I bought the tent for someone 6’5″.  That left plenty of room for gear.  I’ll have to get used to that. 

One other change I’ve made is that I will go with a zPacks Food Bag instead of my Bear Vault BV500.  I received plenty of helpful advice after I blogged what I was going to do.  There is a short three mile stretch were the bear vault is necessary over the entire hike and most shelters have places to hang or a bear box.  A zPacks food bag weighs 1.5 ounces while the BV500 weighs 43 ounces, so that is some significant weight savings.

With that, my kit is complete.  Now back to training!